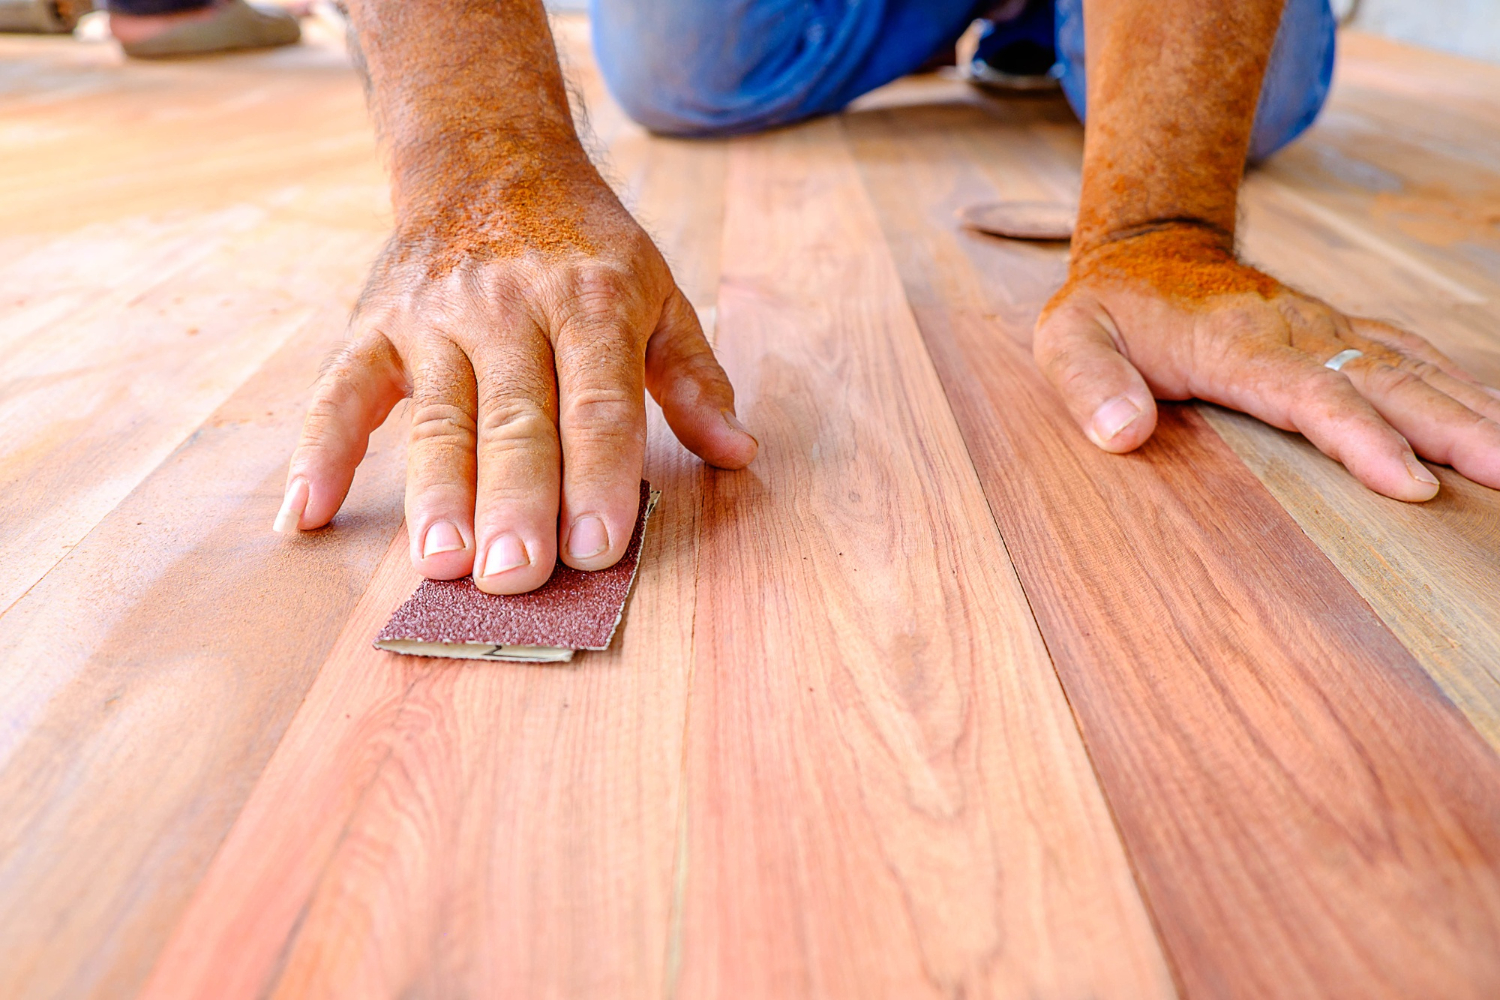
Are you considering a rejuvenation of your home’s ambiance with the warmth of timber floors? If you’ve enlisted the services of Floorshow, Melbourne’s premier timber floor sanding and polishing experts, you’re on the right track. To ensure a seamless and efficient transformation, it’s crucial to prepare your home adequately before our skilled professionals commence their work.
The first step in preparing your home for timber floor sanding and polishing is to create an empty canvas. Remove all furniture, including ottomans, tables, carpets, and any other furnishings from the room that’s about to undergo the transformation. This not only protects your belongings from the dust generated during the process but also enables our team to get to work swiftly, making the entire experience more organised and quick.
As you’ve cleared the floor, it’s time to safeguard your wall decor and curtains. Removing photo frames and wall hangings will prevent them from falling and breaking due to vibrations caused by sanding. Curtains should either be removed or carefully wrapped in biodegradable plastic bags and tied up, ensuring they don’t hinder the timber floor sanding process. Additionally, consider raising low-hanging lampshades to avoid any obstacles.
While our sanding process is designed to be dust-free, it’s essential to cover door vents and other vulnerable areas. Use masking tape to seal door vents, shelves, and wall paintings. Ensure adequate ventilation for safety and efficient drying of finishes. Cover air conditioning units with masking tape or plastic sheets to prevent dust infiltration.
Inspect your timber floors for exposed nails, a common occurrence in older wooden floors. Taking a moment to hammer them down will save time and ensure our sanding professionals can work without any obstructions. Be careful not to damage the wooden surface during this process.
Before our floor sanding and polishing experts arrive, give your timber floors a thorough cleaning. This step accelerates the sanding process by removing fine particles of sand, dust, and dirt. Use a soft-bristled broom or vacuum for sweeping and a slightly dampened microfiber mop with a recommended floor cleaning product for mopping. This ensures that your timber flooring is ready to be sanded, with minimal dirt and dust trapped in gaps. Don’t fret about pet stains and imperfections; our professionals will take care of them.
Professional timber floor sanding and polishing demand adequate lighting and power. Ensure your home has a stable electricity supply. Additionally, make sure there is an uninterrupted water supply, as water is essential for the sanding and polishing process.
By following these steps, you’ll enable our flooring professionals to complete the job efficiently, leaving your home with stunning, rejuvenated timber floors. If you require further assistance or have any questions about our services, don’t hesitate to contact the Floorshow team. We’re here to transform your home into a timber-floored masterpiece.